Today we will be walking through how to install the Check_MK agent on a Solaris host.
For this tutorial we will be using Check_MK 1.4.0p8 Enterprise and OpenIndiana 5.11.
My local site is called Genesee.

First thing we will need is the agent itself. This is shipped with Check_MK and can be found in
/omd/sites/<sitename>/share/check_mk/agents/
I have connected to the monitor server via SSH in order to copy the agent.

Installing and Starting the Agent
1) Copy The Agent
Copy check_mk_agent.solaris to the Solaris server, rename it to check_mk_agent, and put it in /usr/bin with proper permissions.

2) Create inetd Service
Once the agent is copied to the Solaris machine, we will need to tell inetd how to serve it.
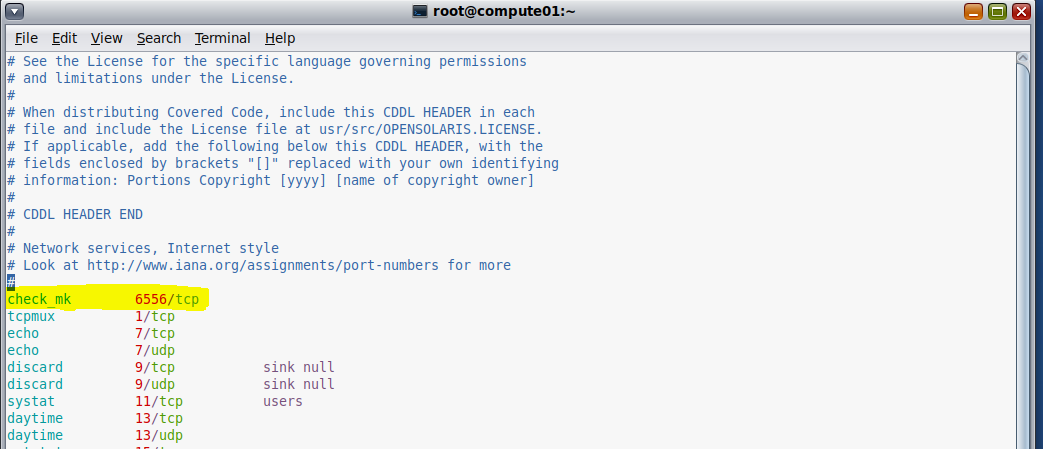
Open /etc/services with your favorite editor and add an entry for Check_MK on TCP port 6556.
Next, open /etc/inetd.conf and add the line:
check_mk stream tcp nowait root /usr/bin/check_mk_agent

We will need to convert that inetd entry in to an SMF service.
This is done by running inetconv. This command may successfully complete with no output!

Verify that the service has been successfully created and is running.

Using telnet, we can connect to the agent and verify that it is functioning properly.

Add the Host to Check_MK
Once the agent service is up and running, we can add our Solaris host to Check_MK as usual.
